Import Feedback via a Zapier Chrome Extension
The Zapier Chrome extension lets you send customer feedback to Playvox Customer AI right from your Chrome browser.
What you will need
- A Playvox Customer AI account
- A Zapier account
- A Chrome Browser
- A Zapier Chrome Extension
1. Install the Zapier Chrome extension
- Go to the Zapier Chrome extension in the Chrome web store.
- In the upper right, click Add to Chrome.
- In the dialog box, click Add extension.
2. Pin the extension to your Chrome toolbar
- In your Chrome browser, click the extensions icon in the toolbar.
- In the dropdown menu, click the pin icon next to the Zapier extension.
The Zapier Chrome extension will now appear on your Chrome toolbar.

3. Create a Zap with the Zapier Chrome extension trigger
After installing the extension, create a new Zap.
- On Zapier, In the Zap editor, go to the 1. Trigger step.
- Search for and select Zapier Chrome extension.
- In the Choose App & Event section, click the Choose Trigger Event dropdown menu and select New Push With Fields.
- Click Continue.
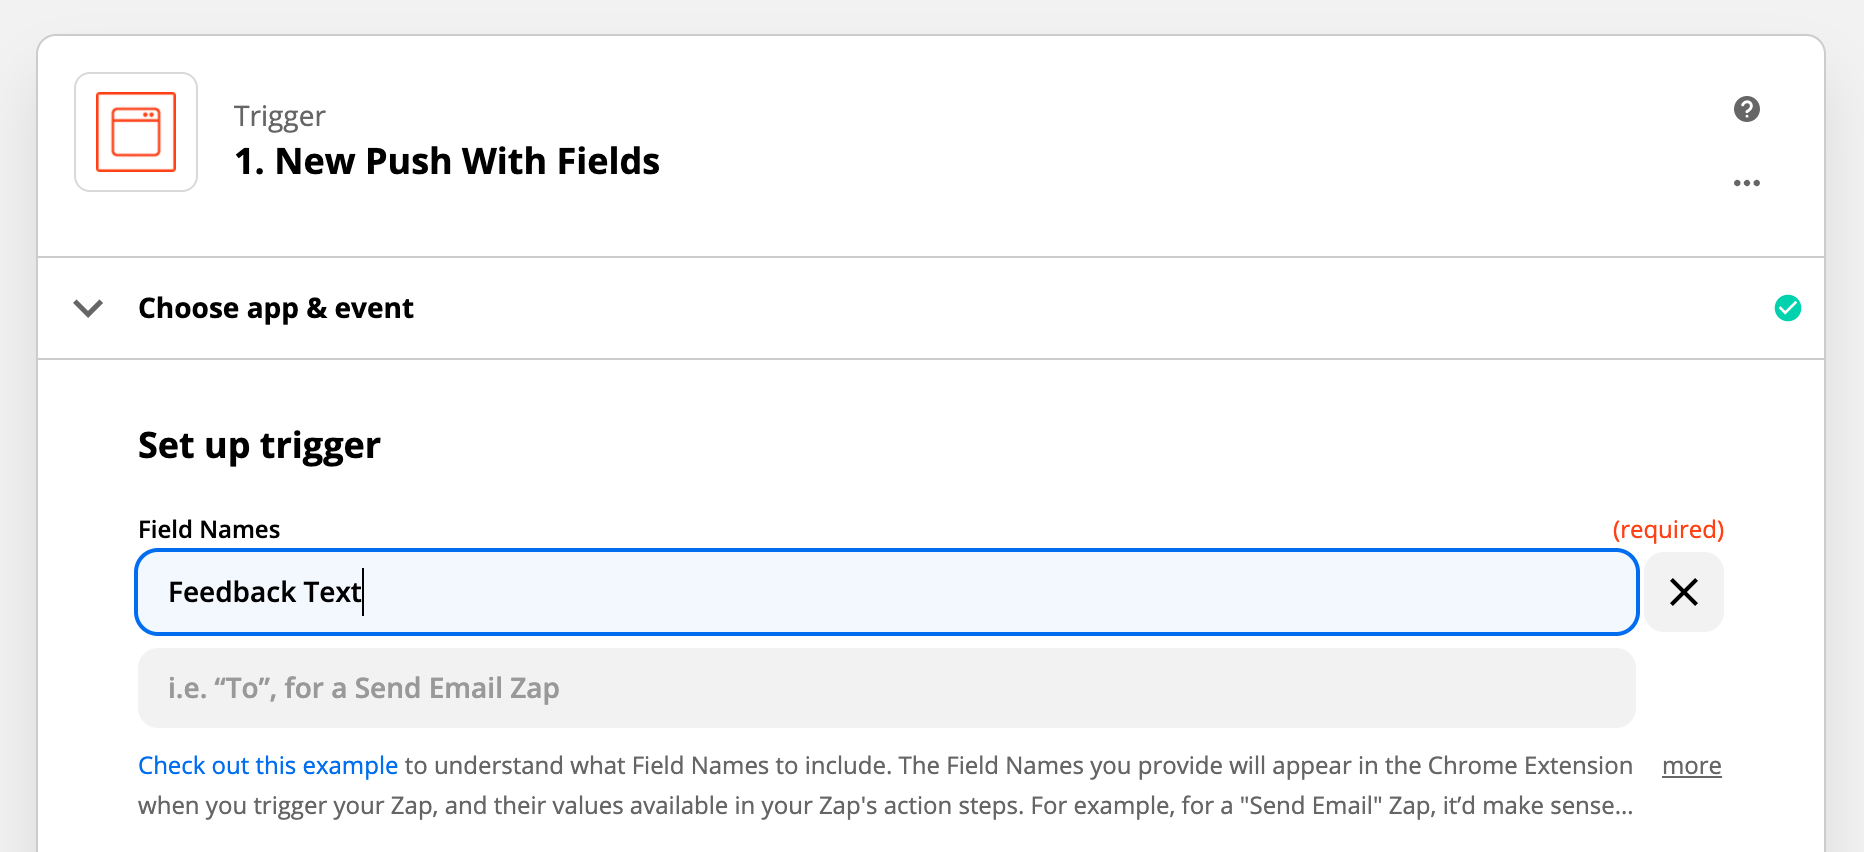
 4. Configure the Form Fields
 4. Configure the Form Fields
Here you can configure what data you'd like to capture via the extension.
- Add a field titled "Feedback Text"
- Click Save & Continue

You can configure additional fields here which you can map to a Playvox Customer AI action in a later step.
5. Send test data
- Click Test Trigger
- Open the Zapier Chrome Extension
- You will see a new Zap with a red label "TESTING". Open it.
- Enter some sample text into the "Feedback Text" field and click Send.
- In Zapier, click Test trigger to receive data
- Click Continue to proceed
Your trigger is now set up.
 6. Create a Playvox Customer AI Action
 6. Create a Playvox Customer AI Action
In this step, we will map the data received from the Zapier Chrome Extension to a Playvox Customer AI action.
- Under Choose app & event, search for Playvox Customer AI
- Under Action Event, choose Import Mention
 7. Connect to a Playvox Customer AI Workspace
 7. Connect to a Playvox Customer AI Workspace
Choose a Playvox Customer AI Workspace you'd like to send the data to.
If you are connecting Zapier and Playvox Customer AI for the first time, you will need to authorize access. Please follow the steps in Zapier to create a new connection.

8. Map the fields
- Click on the Mention Text field and choose Fields Feedback Text from the list
- Click on the Mention Created field and choose Timestamp from the list
- Click on the Data Source field and type in Chrome Extension or another recognisable name to help you identify where the feedback came from
- Click on the Mention URL field and choose URL from the list
- Click Save & Continue to proceed.
 9. Test the Zap
 9. Test the Zap
- Test your new Zap by clicking Test & Continue
- To verify the result, in Playvox Customer AI, head to Search and check whether your mention appears as expected.
 10. Turn on the Zap
 10. Turn on the Zap
When you're happy with the way your Zap works, turn it on in Zapier.

If you need any help using our Zapier integration, please do not hesitate to contact support and we'd be happy to help.