How to connect Zendesk Support to Customer AI?
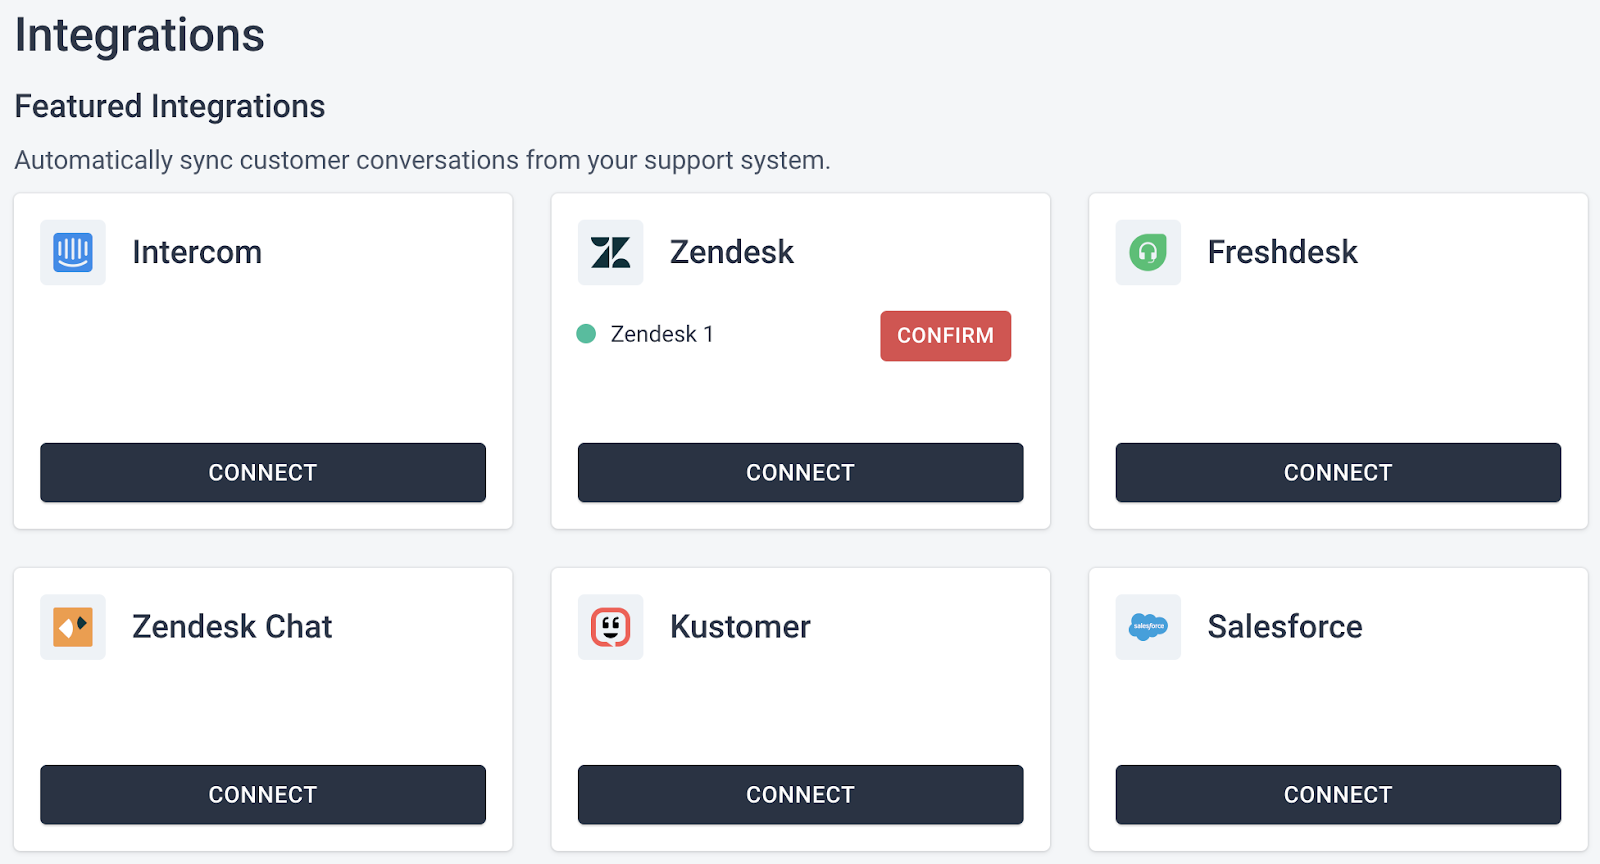
1. On Customer AI, navigate to Integrations.

2. Connect with Zendesk
Choose Zendesk from the list of integrations and click Connect.

3. Name your Connector.
You can connect multiple instances to the same Customer AI workspace, and have data flowing from those accounts into the same workspace.
4. Enter your Zendesk account login details.
Please enter the email address and password you use to login to Zendesk. Don't worry, these details will not be stored and only used to authorize access.
5. Then, enter your Zendesk portal subdomain.
For example, if your Zendesk portal URL is "mycompany.zendesk.com", enter "mycompany".
6. Click Connect.

7. Zendesk Support is now connected
If your credentials were entered correctly, you will see your newly connected instance under the main connector name. This means that the connection has been made successfully and your data is syncing.

How to disconnect a currently connected instance:
1. Click Disconnect.
To disconnect an instance, select the desired instance and click on the "disconnect" button located next to it.

2. Click Confirm.
The instance is now in a disconnected state, which indicates that data will stop flowing between the two systems. Any data that has already been transmitted will not be deleted.
Note: In order to reconnect the instance, you will need to provide your Zendesk username and password again.
If the credentials are incorrect:
The authentication process will fail, preventing data from flowing through the connector. This means that the connector has been created, but it has not been authenticated. You can choose to provide the correct details or cancel that connection.
